A daily checklist tells an operator what to look at. It does not always say what “good” looks like. On a rack and pinion construction hoist, that gap matters: a tie that has moved a metre, a rack joint that has stepped, or an anti-fall safety device that is past its calibration date can all look fine at a glance.
This guide walks through a typical SC-type construction hoist from the foundation up, gives an acceptance point for each of 13 components, and ends with the conditions that should take the hoist out of service. Use it alongside the manufacturer’s manual. Where we quote a figure, it is a common site reference value, and your manual and local regulations take priority.
For the short-form shift checklist, see our daily hoist inspection checklist. If you need a refresher on what each part does, start with the main components of a construction hoist.
Foundation and Base Enclosure
1. Foundation and Anchor Bolts
Pass: no settlement, no cracking in the slab, no standing water around the base, and every anchor bolt tight. Water around the base hides cracks and corrodes the base frame, so drainage is part of the check.
2. Buffer Springs
Pass: springs without heavy corrosion or permanent deformation, with the upper and lower spring seats firmly fixed. These springs are the last line of defence if the cage overtravels at the bottom.
3. Base Enclosure and Gate
Pass: the gate’s mechanical and electrical interlock works, so the hoist cannot run with the gate open. A frequently used site value for enclosure height is at least 1.8 m. Warning signs should be in place and readable.
Mast, Ties and Rack
4. Mast Ties (Wall Ties)
Pass: tie spacing matches the manual and the installation plan, all bolts are tight and nothing has been welded. One widely used site chart gives a first tie at no more than 6 m, further ties at no more than 9 m and a free-standing top section of no more than 7.5 m. Treat those numbers as examples. The spacing for your hoist depends on the model, the mast and the building, so it must come from the manufacturer’s documents.
5. Mast Sections and Rack
Pass: connecting bolts tightened to the specified torque, no broken rack teeth and no wear beyond the limit in the manual. The same chart quotes mast verticality within 0.5‰ and a step between adjacent rack sections of no more than 0.3 mm. A stepped rack joint is easy to miss from the cage and shows up as a knock every time the pinion crosses it.
The Cage and Drive
6. Cage
Pass: every door interlock, the emergency stop and the roof hatch switch stop the hoist when activated. The roof guardrail is complete and the buttons on the operator panel all work.
7. Drive Unit
Pass: pinion-to-rack clearance within the manual’s limit (the chart we used gives 2 mm or less), back rollers bearing on the rack, brake not dragging, gearbox oil at the correct level and no unusual noise during travel.
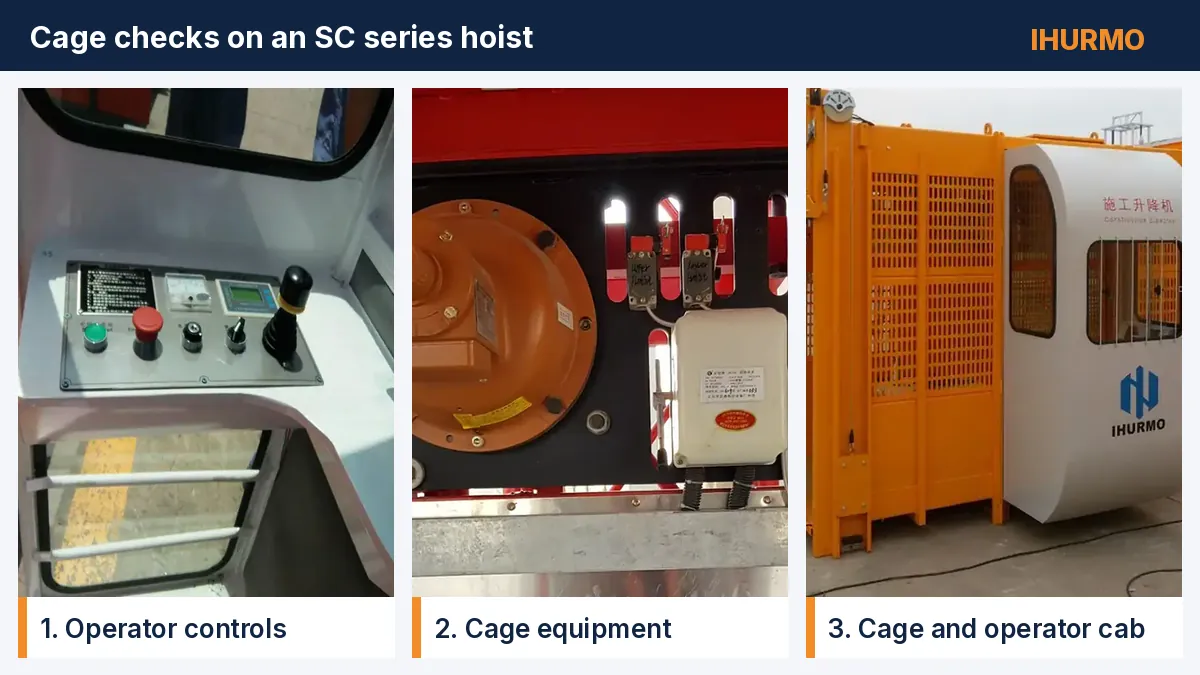
8. Anti-Fall Safety Device
Pass: calibration within its validity period (one year at most), a legible nameplate, no oil leakage and a complete record of drop tests. If the device has gone more than one year without calibration, the hoist should stop until it is re-calibrated. This is the single most important date to check on any hoist.
Limits, Ropes and Counterweight
9. Travel Limits and Final Limit Switch
Pass: upper and lower limit cams are in the correct positions and the final limit switch responds sharply. Test them by hand every month and record the result.
10. Top Sheave and Wire Rope
Only on hoists that use them. Pass: the sheave turns freely; the rope has no broken wires or deformation; rope clips face the correct way; anti-derailment guards are complete.
11. Counterweight System
Only where fitted. Pass: the counterweight runs in its guide without binding, the weights are secured, and the rope shows no broken wires.
Cable and Load Protection
12. Cable Drum and Cable Guide
Pass: the trailing cable has no cuts or abrasion, the drum pays out and takes up smoothly, and the guide rollers are within their wear limit.
13. Overload Protector
Pass: the display works, and an overload triggers an audible and visual alarm and cuts lifting. Test it every day before the first run.
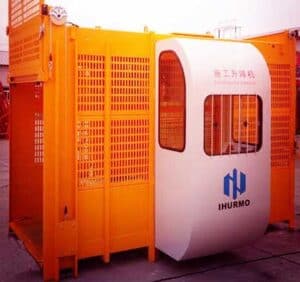
IHURMO hoists list several of these protections as standard. Our 2×2000 kg double cage construction elevator, for instance, lists gate proximity sensors, emergency stop buttons, overspeed governors, emergency brakes and spring-loaded buffers. The exact set depends on the model and the options you order.
Conditions That Take the Hoist Out of Service
| Finding | Action |
| Overload protector not tested today, or not working | Do not run the hoist until it passes |
| Anti-fall safety device more than one year since calibration | Stop and re-calibrate before further use |
| Heavy rain or strong wind has passed | Inspect all mast ties and re-check mast verticality before restarting |
| Any safety switch bypassed or jumpered | Stop immediately; zero tolerance |
The broader site controls that sit around these checks, such as load planning and exclusion zones, are covered in construction hoist safety: site controls for preventing failures.
Practical Tips for the Inspector
- Work through the 13 components in the same order every time so nothing gets skipped.
- Use more than your eyes: listen for knocks, feel for heat and vibration, and tap bolts and welds.
- Fix and record every defect at once. A defect that is written down but not repaired is still a defect.
- Keep up with scheduled maintenance. Most of the findings above are cheaper to prevent than to repair.
Frequently Asked Questions
How often should the anti-fall safety device be calibrated?
Within the validity period stated by the manufacturer and local rules, and at most every year according to the site reference we used. Keep the calibration certificate and drop-test records with the hoist logbook.
Who sets the mast tie spacing?
The manufacturer’s manual and the project’s installation plan. Figures from generic charts are useful as a sanity check, but the approved spacing for your hoist and building always governs.
What is the difference between the travel limits and the final limit switch?
Travel limits stop the cage at the normal top and bottom positions. The final limit switch is a back-up that cuts power if the cage passes the normal limit. Both should be tested.
Should the hoist be inspected after a storm?
Yes. After heavy rain or strong wind, check the mast ties and mast verticality, and look for loosened bolts before the hoist carries anyone.
Plan Your Next Hoist With IHURMO
IHURMO builds SC series rack and pinion construction hoists for passengers and materials, in single and twin cage configurations. Tell us your building height, cage size and load, and we will confirm the configuration and safety options for your project. View our construction hoist range or contact us for a quotation.